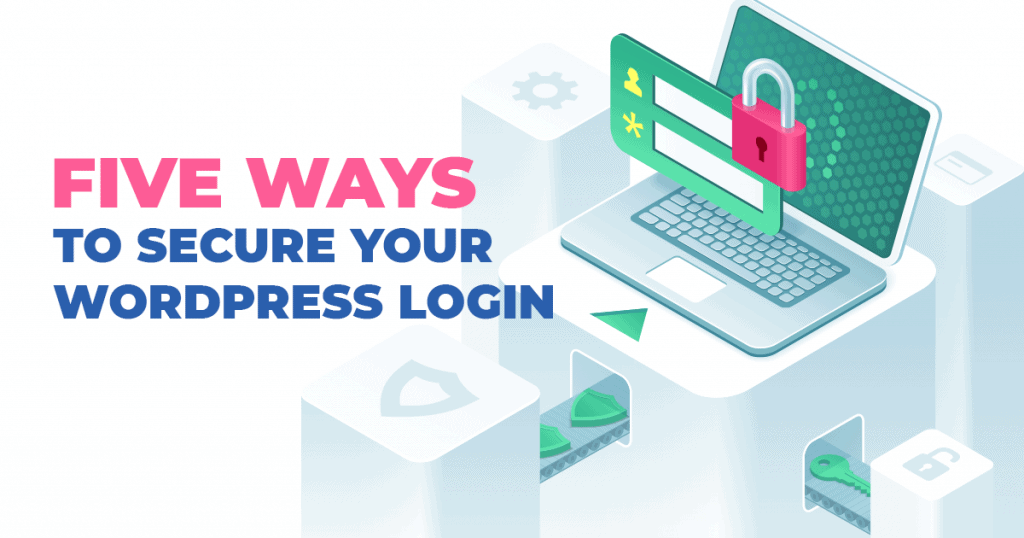
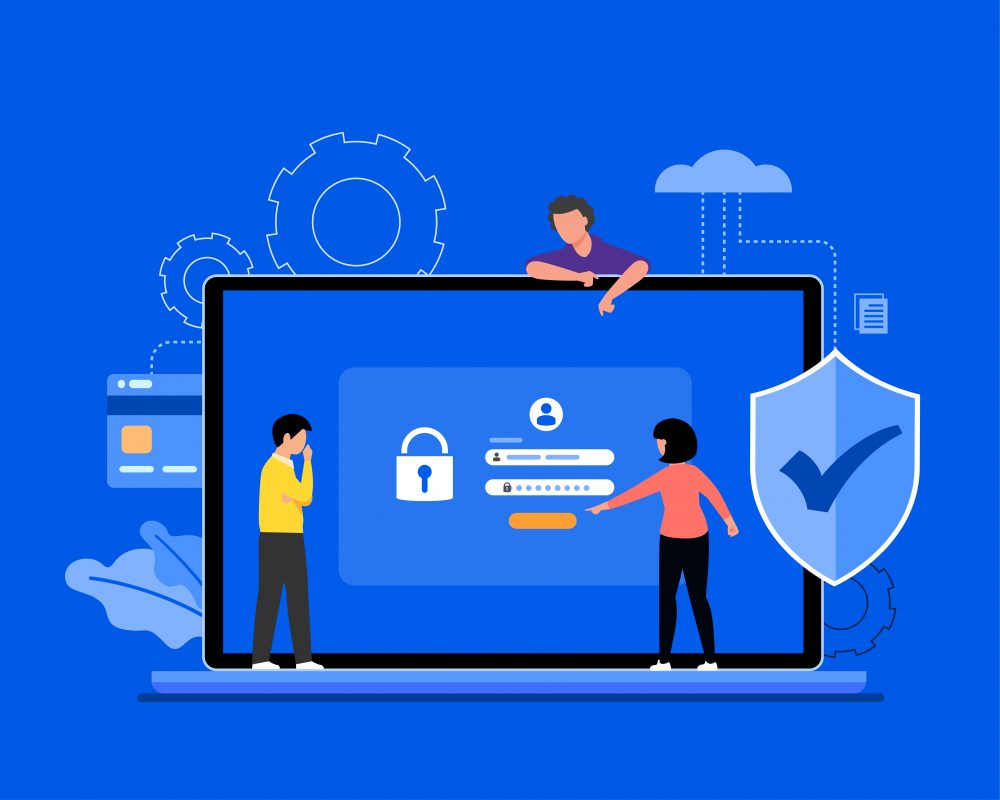
If you own a business website, then you should make it a priority to keep it secure at all costs. This article will focus on the importance of keeping your WordPress login page secure from individuals with malicious intent. Are you interested to know how? Read on and discover how you can secure your WordPress login in five simple ways.
How to Secure Your WordPress Login
Let’s head straight to the matter at hand, shall we? Below, you will find five effective ways to secure your WordPress login:
ONE: Password Protect WordPress Admin and Login Page
Did you know that hackers can request your WordPress admin (wp-admin) folder and login page with ease? Yes, it’s true. Because of this, these hackers can run DDoS attacks and perform other malicious activities on your system.
Thankfully, you can implement additional password protection on the server-side level to restrict them from requesting your wp-admin directory. As such, here’s how you can password protect your WordPress admin directory:
- First, create a .htpasswds file. Use a htpasswd generator to do this.
- Then, upload the file outside your /public_html/ directory.
- After that, you need to create a .htaccess file.
- Next, upload the file in your /wp-admin/ directory.
- Then, add the following codes to the directory:
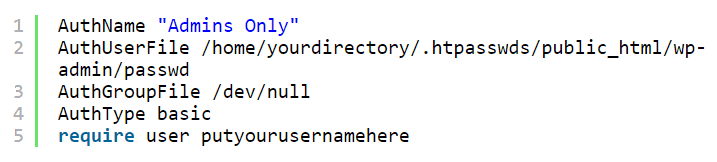
Image Source: WPBeginner - After that, update your username in the directory.
- Finally, update the AuthUserFile location path.
TWO: Limit Login Attempts
Another layer of protection to secure your WordPress login comes in the form of limiting login attempts. WordPress, by default, allows users unlimited attempts to log in. However, because of this, your account becomes vulnerable to hackers who can attempt to crack your password. One way to avoid this is to limit failed login attempts for users.
So, here’s how you can do this:
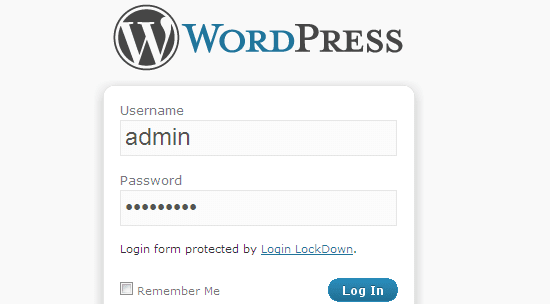
- First, you will need to install and activate a plugin, such as Login LockDown, which logs the IP addresses and timestamps of failed login attempts.
- After activating the plugin, you need to head to the Settings tab on your WordPress admin dashboard.
- Under the Settings tab, tap on Login LockDown to start setting up the plugin.
- Here, you can set the maximum number of login retries for every user.
- Then, you can also set the retry time period restriction to determine how long users need to wait to make another login attempt.
- Lastly, you can also set the lockout length or the amount of time in which WordPress will block a particular user after repeatedly failing to log into your WordPress account.
THREE: Add Security Questions
You can also require users to answer security questions whenever they log into your WordPress admin dashboard. Adding security questions makes it more difficult for hackers to get unauthorized access to your account.
As such, here’s one way to make this happen:
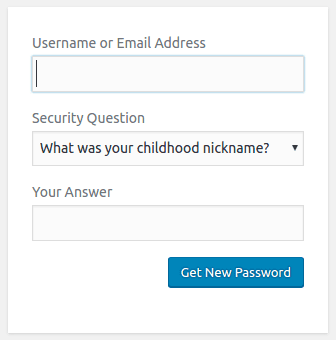
- First, install a plugin like WP Security Questions, which lets users add a security question feature to answer when they register, log in, or forget their passwords.
- After activating the plugin, scroll down to find the Settings tab on your WordPress admin dashboard.
- Next, head to the Security Questions page and start configuring the plugin settings according to your preference.
- Here, you can set your preferred pairs of security questions and answers.
- Finally, you can also decide to display your security questions all the time, at random, after one-time login fails, etc.
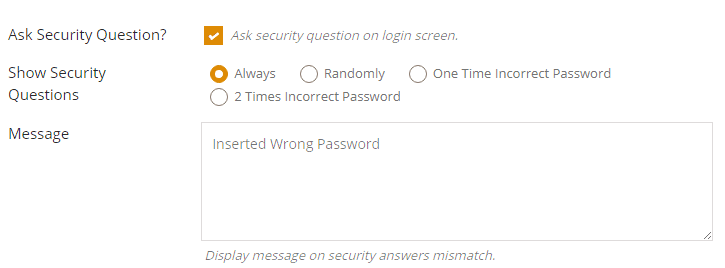
Image Source: WP Security Questions
FOUR: Add Two Factor Authentication
You can also add another layer of protection to your WordPress login through two-factor authentication (2FA). It is a technique that requires users to log in using their username and password and then authenticate their login using another device or third-party application.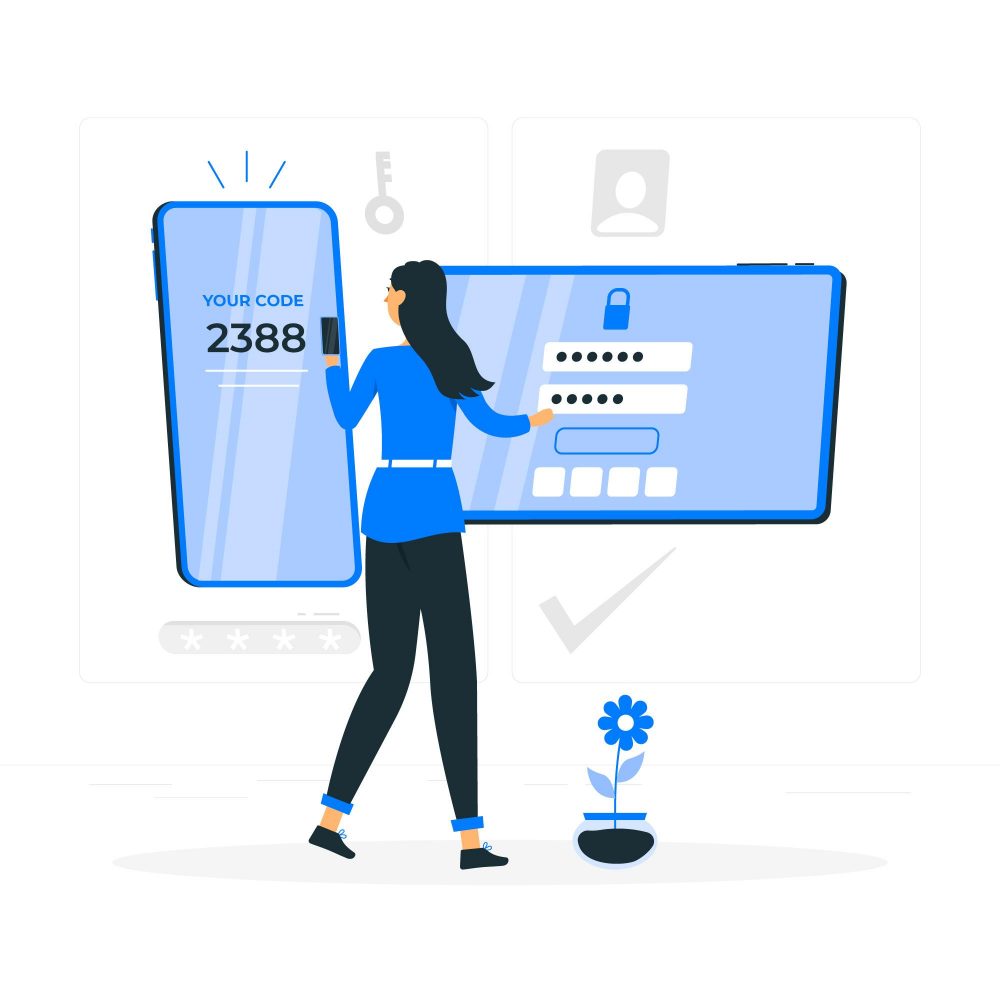
So, here are the steps to implement two-factor authentication to secure your WordPress login:
- First, install and activate the Two Factor Authentication
- After activating the plugin, tap on the “Two Factor Auth” link, which you can find in the WordPress admin sidebar.
- Then, using your phone, install and open an authenticator app, such as Google Authenticator or LastPass Authenticator.
- After installing the authenticator app, open it and click on the Add button. The authenticator app will ask you to scan a bar code or scan a site manually.
- Choose the scan bar code option and direct your camera to the QR code displayed on the Two Factor Authentication plugin’s settings page.
- The authentication app should have successfully saved your code.
After that, every time you log into your WordPress website, aside from entering your username and password, you will also have to input the code that the authenticator app on your phone will provide.
FIVE: Automatically Log Out Idle Users
Sometimes, people leave their devices unattended to do something else. So, if you are one of those, you should stop with that habit as it poses a security risk to your logged-in accounts. Malicious attackers may hijack your session and change your passwords. Worse, they may even make drastic changes to your WordPress account, which could prove harmful for your business. Thus, you must set your WordPress account to log out inactive users automatically.
As such, here’s how you can do this to secure your WordPress login:
- First, install and activate the Inactive Logout plugin for WordPress.
- After activating the plugin, head to the Settings tab on your WordPress admin dashboard.
- Click on Inactive Logout under Settings and start configuring the plugin.
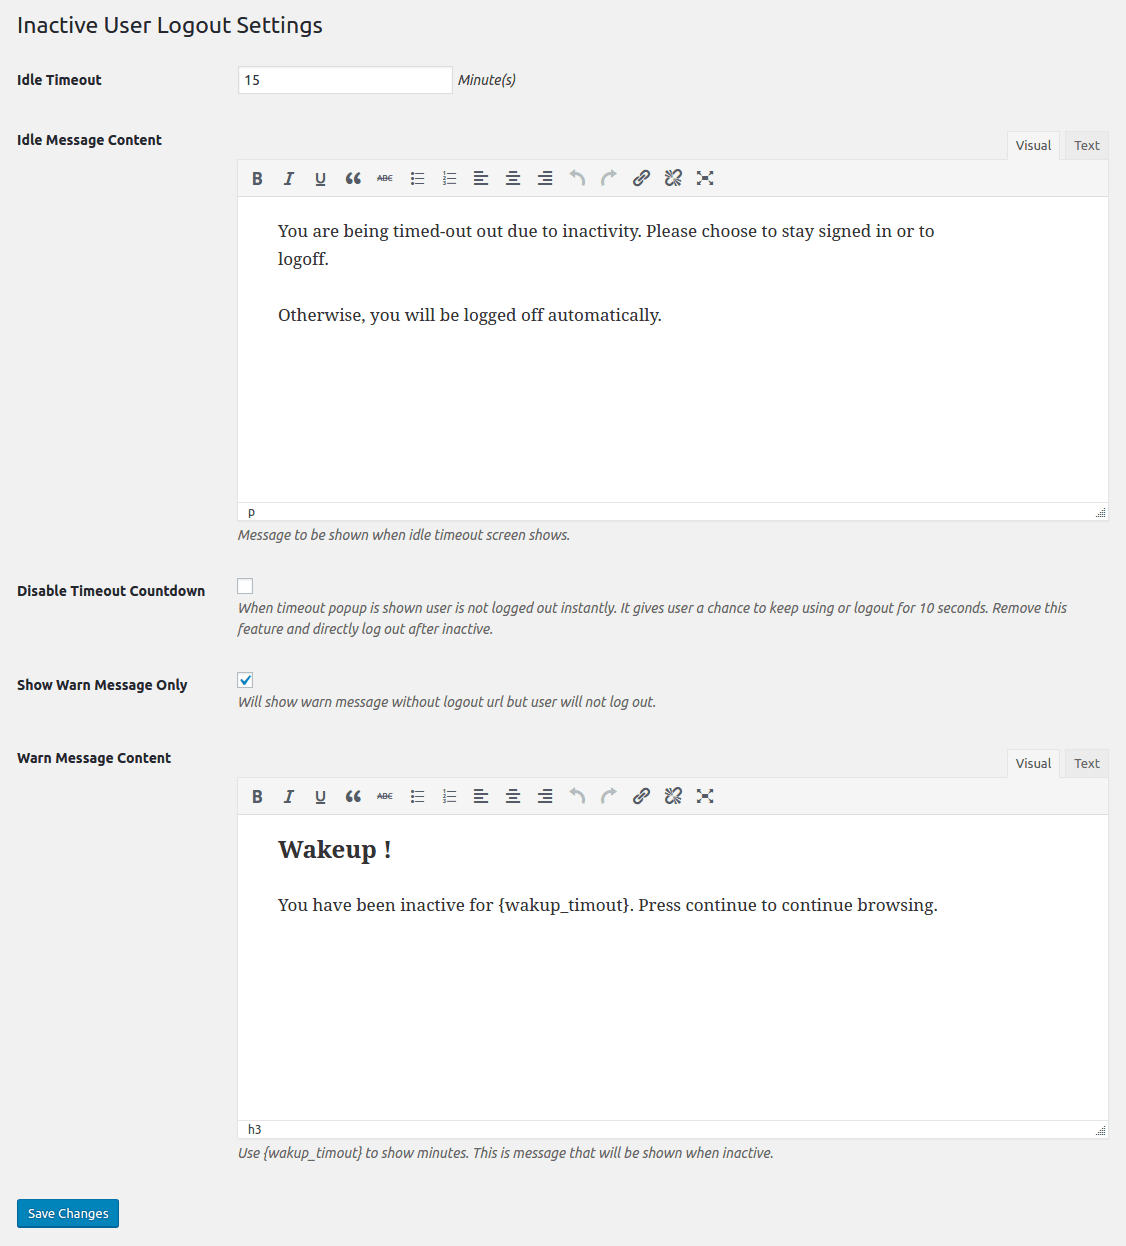
Image Source: Inactive Logout - Then, on the Inactive Logout page, you can set the time before WordPress logs out inactive users.
- You can also place a session timeout message.
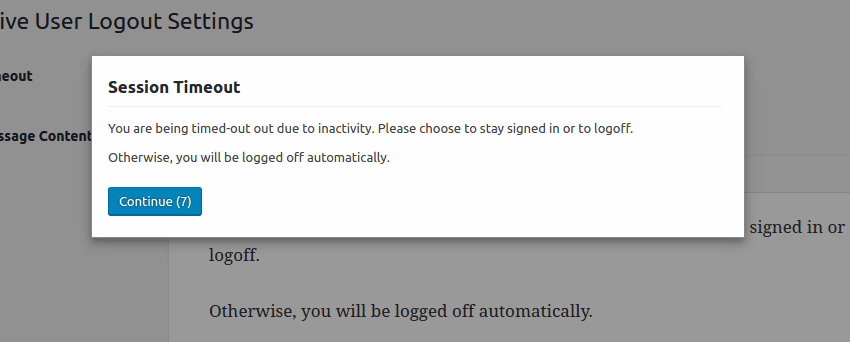
Image Source: Inactive Logout
Implement These Methods to Secure Your WordPress Logins!
Now you know some of the best ways to secure your WordPress logins. It’s time to implement them to guarantee the security of your WordPress accounts!
So, if you are new to WordPress development, it would be best to seek help from a WordPress web developer. Get in touch with a professional web developer today!