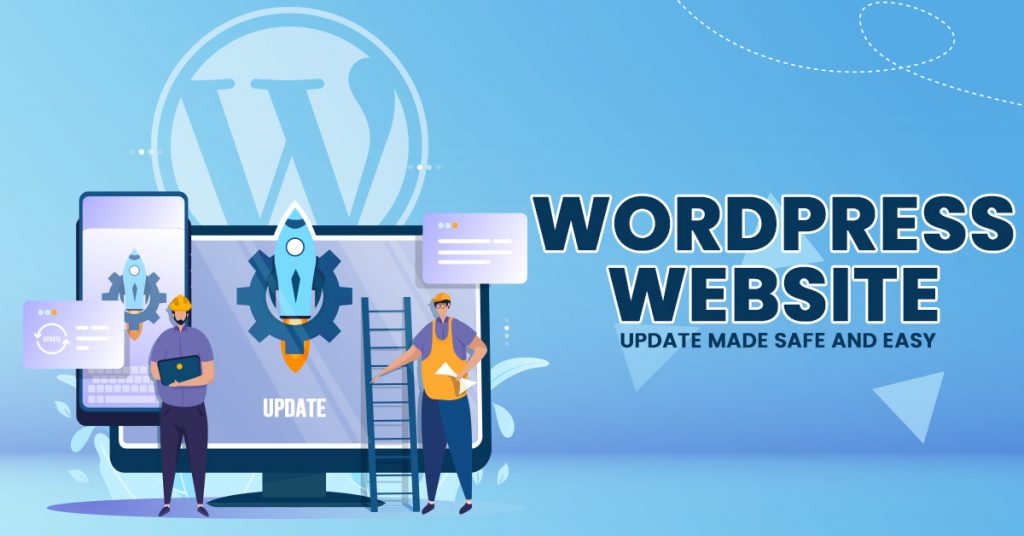
As a business owner, you build a website to expand your brand’s reach and facilitate customers when they purchase your products and services. To guarantee that the website performs at its best and is equipped with the latest security features, WordPress developers from the Philippines utilize the most updated version of WordPress. However, when the need for a WordPress website update comes up, they often feel anxious thinking that the process may break their site.
In this write-up, you will discover that there is no need to worry when updating your site. Read on to know how to perform a WordPress website update safely and securely.

Why Regular WordPress Website Updates Are A Must
According to leading WordPress security research, most WordPress websites get hacked because of an outdated WordPress core, theme, or plugin.
WordPress developers resolve this by adding new features, finding and fixing bugs, and regularly hunting down security vulnerabilities. They then release these changes in a new WordPress version.
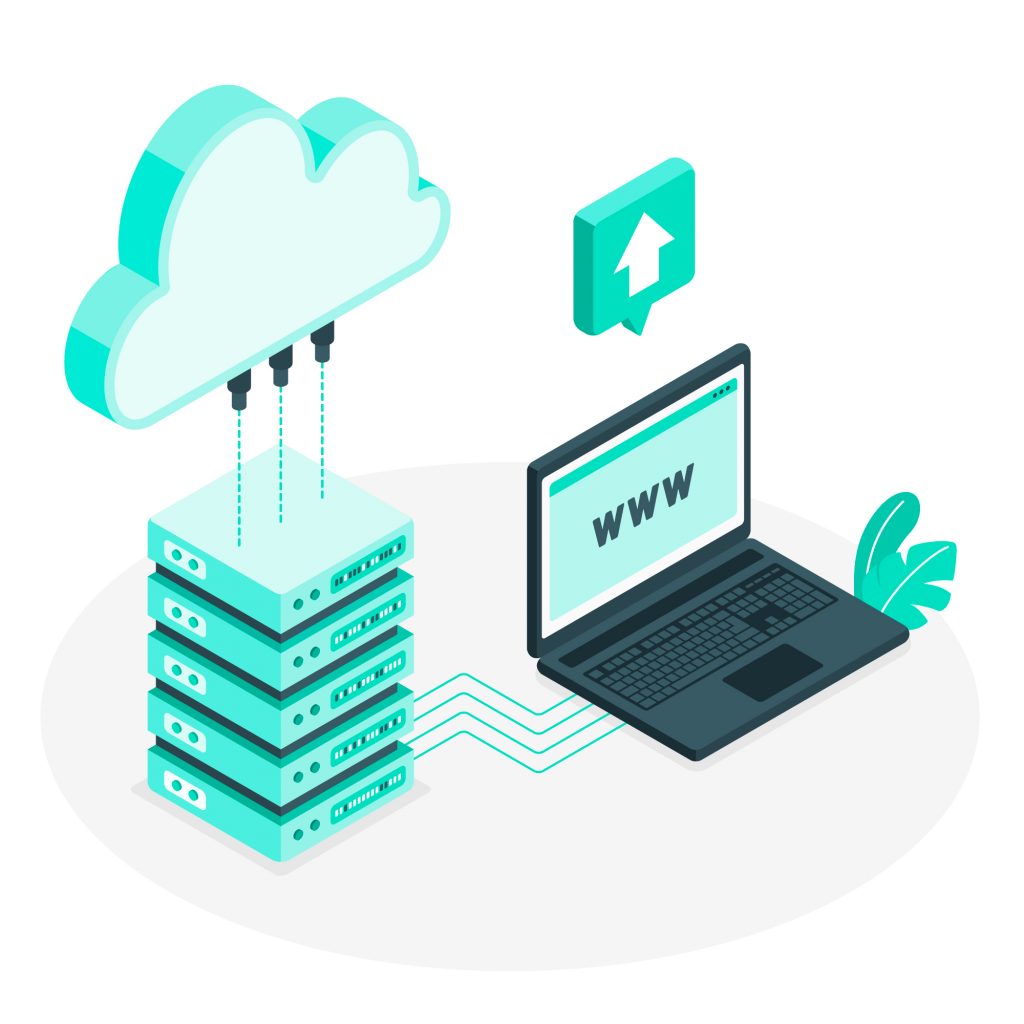
A WordPress website update ensures that your website has the newest features, the latest security patches, and the best speed and performance. Frequently, these releases may not be that big, so WordPress automatically updates itself to the latest version. However, for major releases, website owners have to update the site on their own manually.
Now that you have learned the basics, let’s head on to the real reason why you’re here, shall we?
Before the WordPress Update
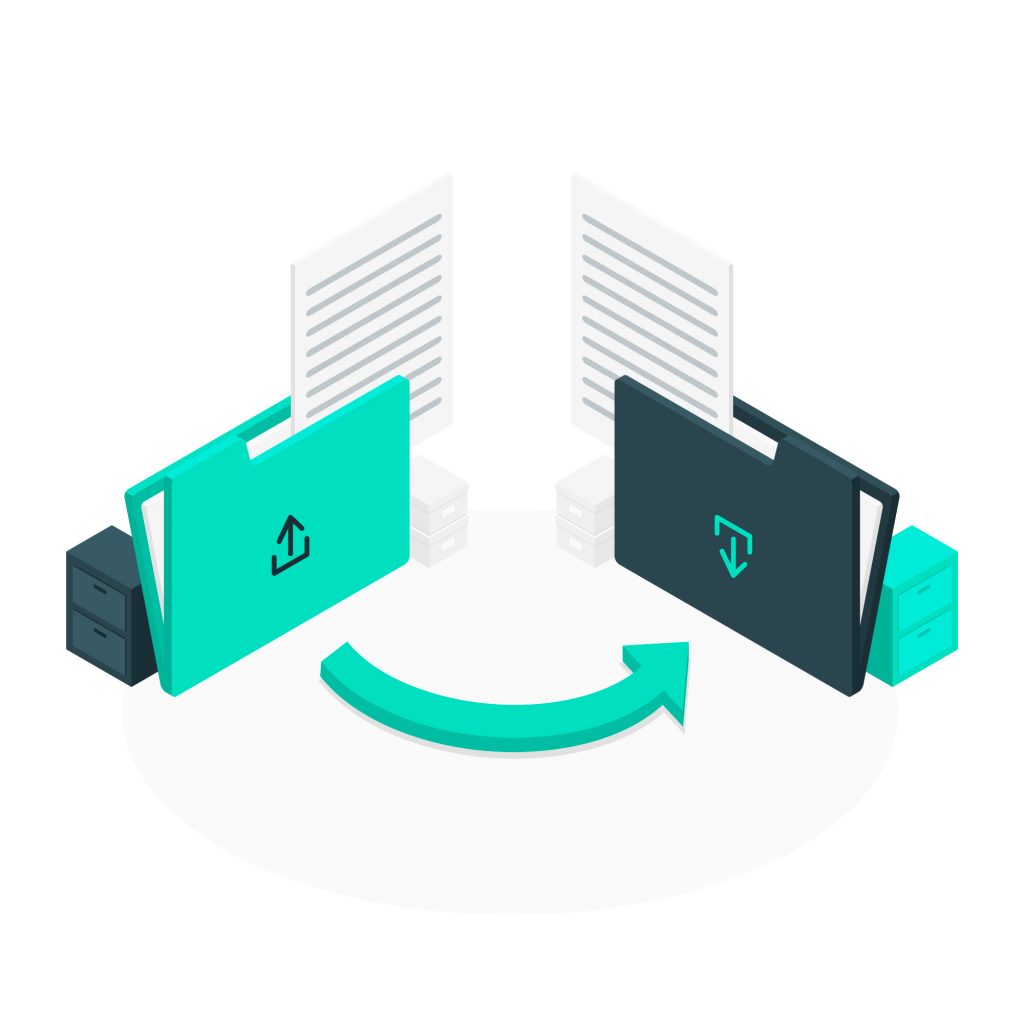
A backup is the most crucial thing that you need to complete before updating your WordPress website design. Before updating, WordPress developers suggest that you create a new backup and then safely store it in a remote location. Doing so allows you to restore WordPress from a previous state if something goes wrong when updating your website.
A successful WordPress backup generally includes everything: your WordPress database, all of your images and media uploads, your plugins and themes, and your core files.
After creating a complete backup and storing it on your computer or cloud storage such as Google Drive, you can proceed to the next step.
During the WordPress Update
There are two ways to do a WordPress website update: the automatic method and the manual method.
Automatic Method: Through a Built-in System (1-Click)
Generally, this method is recommended by WordPress developers for most users because it is easier and faster.
To start, log in to the admin area of your WordPress site. Then, proceed to the Dashboard and click the Updates page.
When you see the notice for a new version of WordPress, click on the “Update Now” button to start the update. WordPress will fetch the latest version of the software and install it for you.
While your website is going through the update, WordPress will place your site in maintenance mode. It will still be visible to users; however, you will not perform any WordPress website design changes such as installing themes or plugins.
After the update, WordPress will redirect you to your website’s welcome screen. You may get notified of what’s new in WordPress and the features that you should try.
And that’s it! Congratulations on successfully updating WordPress to its latest version!
Manual Method: Through File Transfer Protocol
You can use the second method to update your WordPress website design when, for some reason, the first method is not working for you. It requires the use of FTP to upload WordPress files manually.
To begin the process, download the latest version of WordPress by going to the WordPress download page. Then click the Download button.
After your browser has downloaded WordPress in a zip file, extract it. Inside, you will see a WordPress folder that contains all of the WordPress files needed for the update.
Open your FTP client and connect it to your website. Once it is connected, head to the WordPress folder you extracted earlier which you can find in the local files column.
In the remote files column, go to your website’s root folder, which can either be named public_html or after your website’s domain name. Inside, you can find your WordPress files and folders. Select all of the data inside and then right-click to select “Upload.”
Your FTP client will begin uploading your WordPress files from your computer to your website. Your website will already have older versions of the data with the same name. So, you will be asked what to do with said files. Select “Overwrite” and tick the box next to “Always use this action.” to resolve this.
With this, you ensured that newer versions of your WordPress files had replaced all of the older ones on your website.
After the upload, head to your website’s admin area and you may see a page saying that there is a need for a database update. Click on the “Update WordPress Database” button to continue.
After that, you have successfully updated your WordPress website. Well done!
After the WordPress Update
Finishing the WordPress website update should not be the end of the process. It would be best if you can guarantee that no issues would pop up and everything is working correctly. To check, visit your website on a new browser window and review Settings in the WordPress admin area. For this, you can ask assistance from a WordPress web development company from the Philippines.

Now that you have read these quick and easy steps for a WordPress website update, you can now start upgrading to secure the latest features without fear of breaking your site.