The gym business is all about community. So, if you’re in the fitness industry in any way, building a website is an essential first step! But the problem is, you don’t know a thing about Gym Website Development. There are a lot of considerations to take, but it’s okay.
Don’t worry, we’ve got you. So, here’s a guide on how you can create a successful gym website.
Step 1: Choose and decide on a domain name.

Before setting up your killer website, one of the things that you need to decide on is your domain name. This is your address, which your audience uses to look for you or your services. When creating your domain name, ensure to include only the information related to your brand, industry, etc.
More importantly, this helps customers find you better, allowing them to access your website easily. A domain name usually costs $9-20 per year, depending on several factors, including:
- The popularity of your domain name
- The extension (i.e. “.org”, “.com”, etc.)
- The length of your plan/purchase
- The seller of the domain
Checking your domain name’s availability is highly recommended on WordPress or on popular sites like Domain.com. This will help you see if your preferred domain is on the market and what similar domains might cost.
Step 2: Decide on a web hosting platform and hosting plan.

One of the best hosting platforms for start-ups is WordPress. It is a powerful, flexible content management system that can be used to build almost any website. Moreover, you can host your WordPress site on WordPress-optimized hosting — it’s like a tailor-made suit!
WordPress also lets you choose from a wide range of plans and packages. From affordable hosting to more premium dedicated server options, they have it all for you.
You can also choose between the WordPress options: WordPress.com and WordPress.org. The difference between the two are mainly the following:
- WordPress.com is a fully-hosted website. Creating your website is free, but to properly host one, you must pay for the hosting and its domain name. This is a hosting platform usually best for start-ups, whereas;
- WordPress.org is a self-hosted platform. You have to find your web-hosting platform and get your own custom domain. However, it gives you more freedom, especially in branding and monetizing your website. It’s usually preferred by professional bloggers and businesses, especially since it has more premium features.
Tip: Hosting your domain name is much better since it gives your website a professional look rather than hosting it on a free website.
Step 3: Choose a theme for your website.
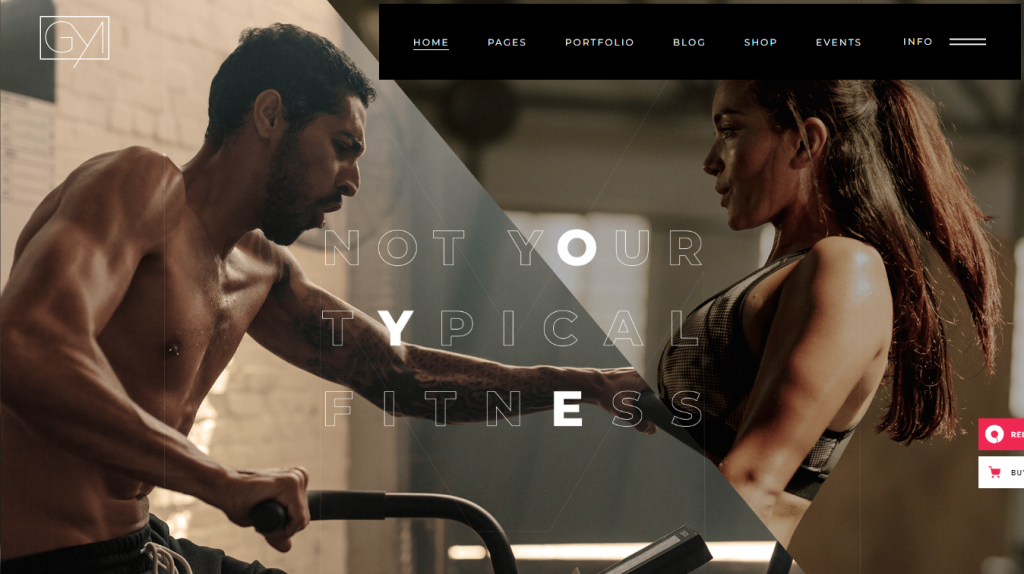
After settling your hosting plan and setting up your domain name, the next step in your Gym Website Development is to choose a theme for your website. With WordPress, there are a ton of choices to select from.
You can also choose to install plug-ins like Elementor, and install fitness template themes, etc. To look for the theme that best suits your interest, all you have to do is to search or browse the theme collection from WordPress.
Here are some of the templates that you can use.
4 Best Templates for Gym Website Development
1. Prowess
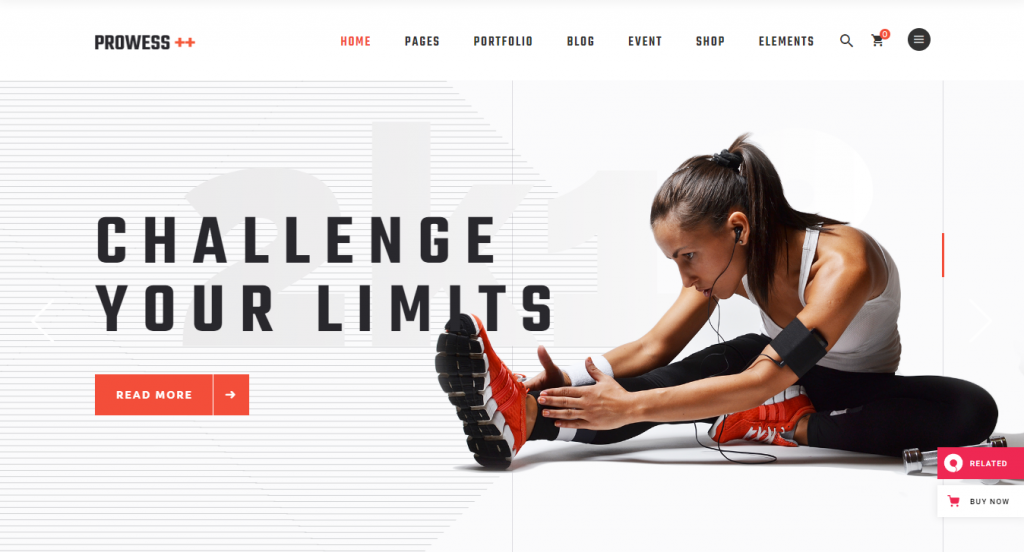
- Includes 9 Homepages
- Integrated BMI Calculator
- Timeline Plug-Ins
- Has pages for all uses
- Powerful Admin Interface
- Highly Customizable
- One-Click Content Import
- Fully Responsive
- Compatible with Elemetor, WooCommerce
Pricing starts at $75 for a Regular License
2. JustFit
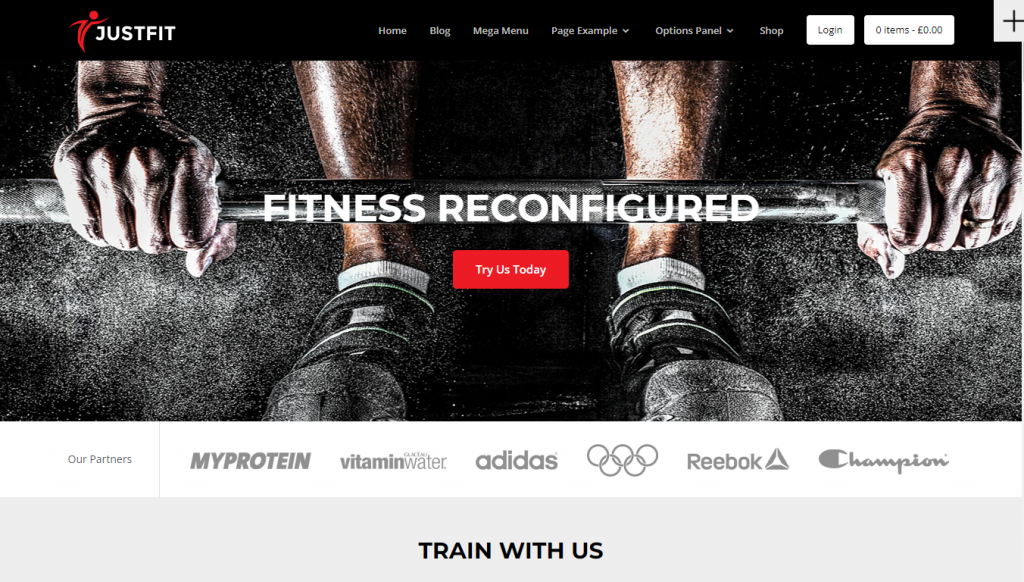
- Unlimited Colors
- Drag and Drop Sections
- Highly Customizable
- Fluid Responsive
- Speed Optimized
- Adsense Optimized
- SEO Mastered
- Off-Canvas Mobile Menu
- Social Media Integrated
- Compatible with WooCommerce
- Video Section Post
- Has Shortcode Collections
- Translation Ready
Pricing starts at $39 for a Single Product Subscription.
3. Powerlift
- 7 Homepages available
- Features an Unrelenting Design
- Highly Customizable
- Responsive Pages
- Timetable & BMI Calculator
- Compatible with WooCommerce and Elementor
- No Coding Knowledge Required
- Big Shortcode Collection
- One-Click Import of Demo Content
Pricing starts at $69 for a Regular Licence.
4. Zyth
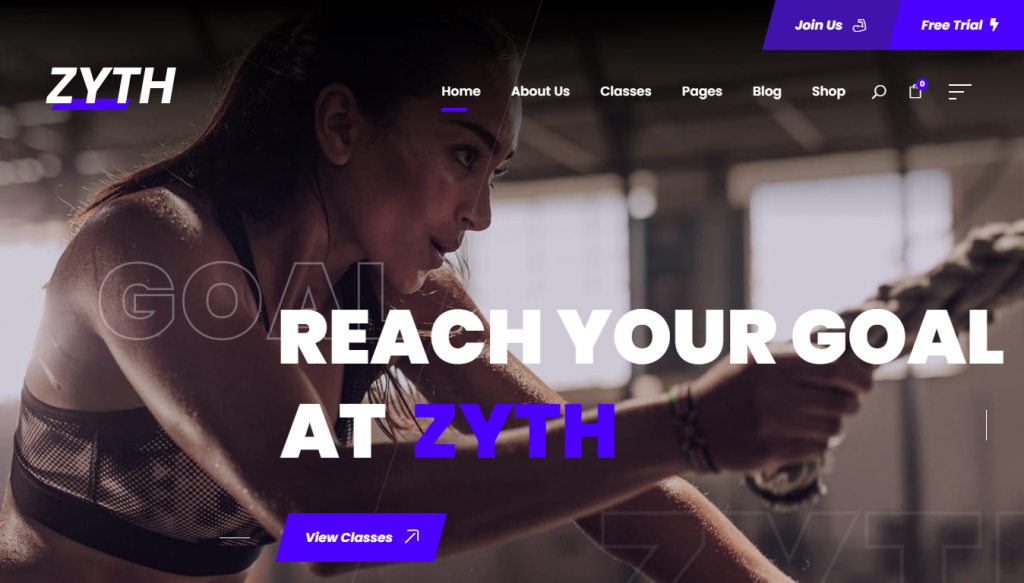
- Intuitive Page Builders
- Sync Block Across Site
- Re-Usable Elements
- 600+ Theme Options
- Fully Responsive
- One-Click Demo Importer
- Free Lifetime Update
- Compatible with Major Plug-ins like WooCommerce, Contact Form 7, WPML, etc.
- Provides Top Notch Support
Pricing for Zyth starts at $64.00.
Step 4: Customize your website.
Don’t know a thing about coding? It’s okay because, with WordPress, you don’t need to know how to code. Not only that, its block editing and full site editing feature lets you easily customize your website to suit your needs and preference.
When customizing your site, it’s best to remember the following:
- Make sure to create and incorporate your brand. This includes logos, colors, etc. Brand the website you own and own the brand to your website. This way, your customers can easily recognize and remember you.
- Create a membership plan or package. Make sure to highlight the benefits you offer and the things that make you stand out. You can also offer discounts, etc.
- Incorporate it with WooCommerce if you’re planning to sell memberships. Most WordPress themes are usually compatible with WooCommerce, so you don’t have to worry about this part. It lets you manage things smoothly, especially if you’re planning to sell other items than memberships (i.e., merchandise like shirts, training or fitness equipment, etc.)
- Make it navigable and easy to use. You have to ensure that all information needed is easily accessible. Making sure it works on different devices is also a must to give your audience/customers a smooth user experience.
Step 5: Create and manage your content.
Make sure it’s SEO optimized so that your website is one of the top results when an interested user wants to avail of your service. This helps you gain more customers and patrons and helps with your traffic and sales.
When creating your content, it’s also best to check websites like SEMRUSH for recommended keywords. Doing this helps you rank better and attracts more people to your website.
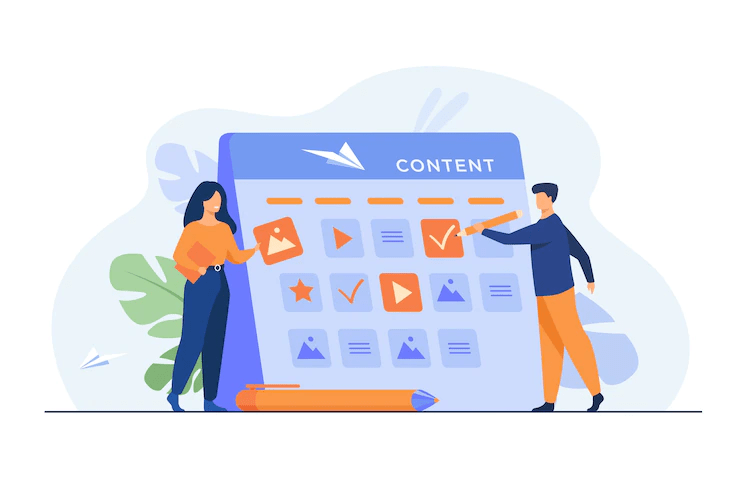
Having a variety of content is also good for your website. So, it’s best to remember to include articles, images, and videos, especially with the nature of your site.
Tip in Content Creation: Create a content calendar so you can properly manage the content that you put out.
Step 6: Publish and promote your website.
So you’re done establishing your domain name and finalizing the set-up of your website on your chosen platform. The only thing left to do on your Gym Website Development is to publish and market it. Spread the word about your website.
Get online, and promote it on your socials. Email Marketing is also highly recommended since it brings more leads and serves as a medium for you to communicate with your customers/subscribers. This is also best, especially when venturing with eCommerce.
You can update your customers with their orders and even about new services, plans, packages, or deals. Email Marketing Automation also makes this easier for you, so check out sites that offer these services.
Things to Include in Developing Your Gym Website
And that’s basically it! You now have your website. What’s left for you now is to maintain it and to ensure that you constantly update it. Put out regular content, and engage with your community. This way, you establish a rapport that makes them want to come back to you.
Some of the things that you need to remember to include in it are the following:
- Homepage, where you highlight your brand and your services. Adding testimonies from your loyal customers also helps too.
- Services Page, where you put everything that you offer. This includes your membership packages, deals, and other things that you chose to sell on your website.
- About Us Page, where you help interested visitors know who you are, and what you’ve achieved so far as a brand. This demonstrates your expertise in the field and establishes trust with your potential customers.
- Blogs, where you put all your content related to the brand.
- Contact Us, where you put all your contact information including your number, email, and address. This makes it easier for them to communicate with you, and go to your physical Gym whenever they want to.
Reasons to Establish your Website
And if you’re looking for other reasons why you should build a website, here’s a list that can nudge you in the right direction. Starting with:
- Reason #1: It helps you build a strong online presence.
- Reason #2: It helps increase your revenue and credibility.
- Reason #3: It helps potential customers find you, especially since they already expect a website from you.
- Reason #4: It helps give them a reason to subscribe to your plans/deals.
- Reason #5: It helps give them a great membership experience.
Ready to Jumpstart your Gym Website Development?
Establish your GYM Website with a Professional! Consider hiring a WordPress Developer from the Philippines today.