The WordPress Block Editor is one of the features in WordPress 5.0, and it has the biggest potential to change how you use your website for the better. So, if you’re wondering how to use it then you’ve come to the right place! Here’s an essential guide on how to use the WordPress Block Editor and everything you need to know about it.
What is the Block Editor?
Block Editing, otherwise known as the Gutenberg Editing, offers a simple way of publishing content to your website. From its name, this type of editing features an array of blocks you can add, allowing you to create visually appealing layouts.
These blocks have all the necessary components, from paragraphs to media, tables, etc.
However, before fully delving into a guide on using the WordPress Block Editor, let’s first understand the differences between the two editors.
Difference between the WordPress Classic and Block Editor
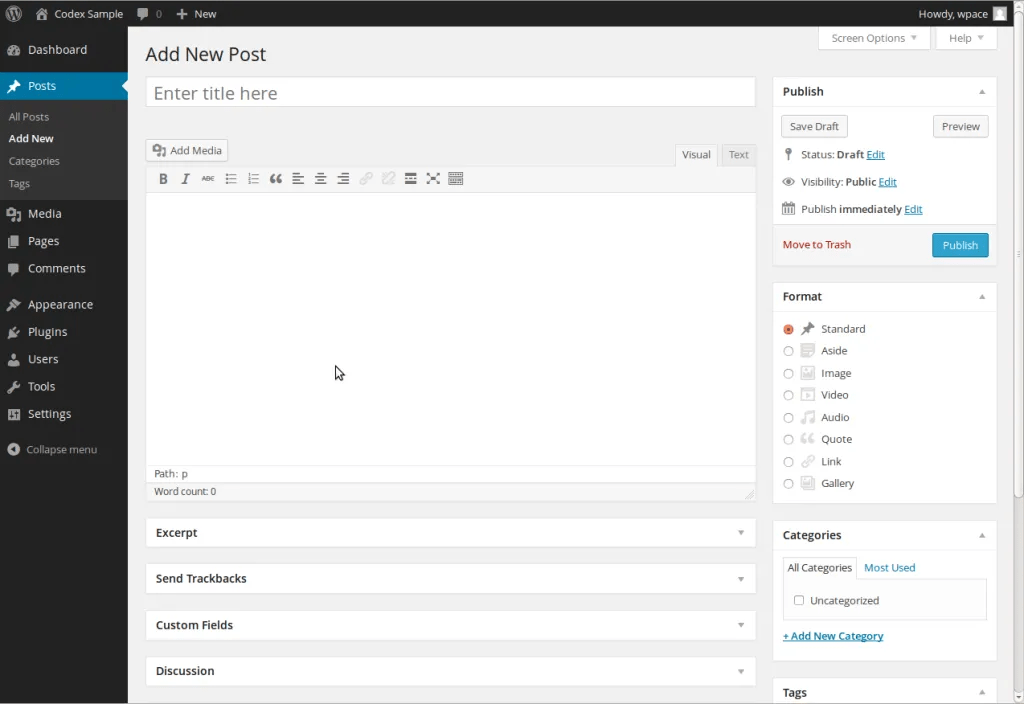
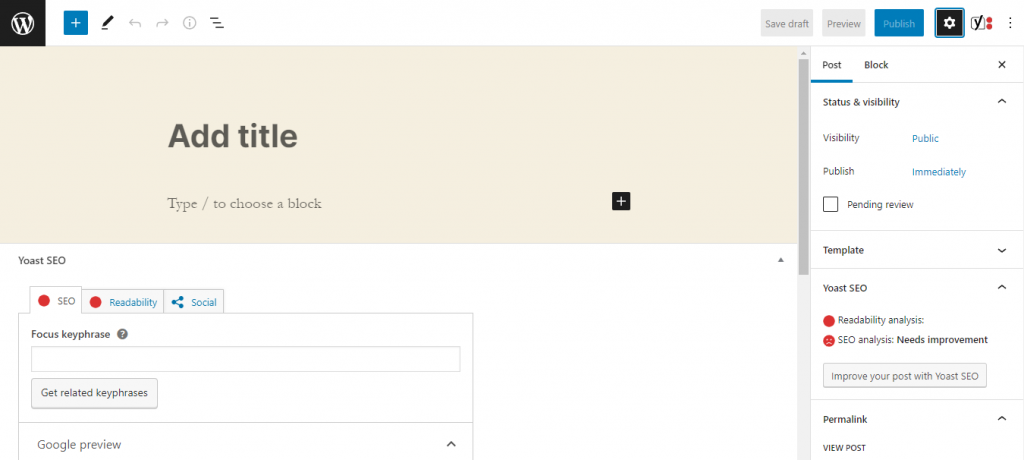
Source: WordPress Classic Editor and WordPress Block Editor
Classic Editor
The Classic Editor is a simple and standard design from WordPress. It has a similar and familiar look to the MS Word we use, hence why it’s easy for most to use. Here you have your toolbar on the right side of the page, your main content area, and the publishing options on the left.
This editor is pretty much WYSIWYG, and that’s what makes it the classic that it is.
Block Editor
The Block Editor, in comparison, offers this too, but with so much more. It has more features and a fresh layout that lets you focus on your content. It may not look like much at first, but it’s much easier to use. Here’s how.
A Look into the Editor’s Workspace
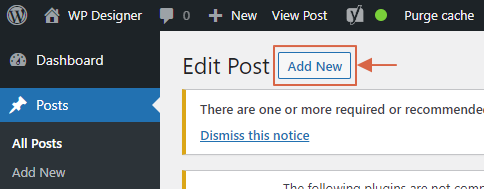
Adding a New Post
To add a new post, you must click on the Posts >> Add New post menu on your WordPress admin account.
Source: WordPress
After that, this will then be the layout that will welcome you to your workspace. There are three main sections that you can work with.
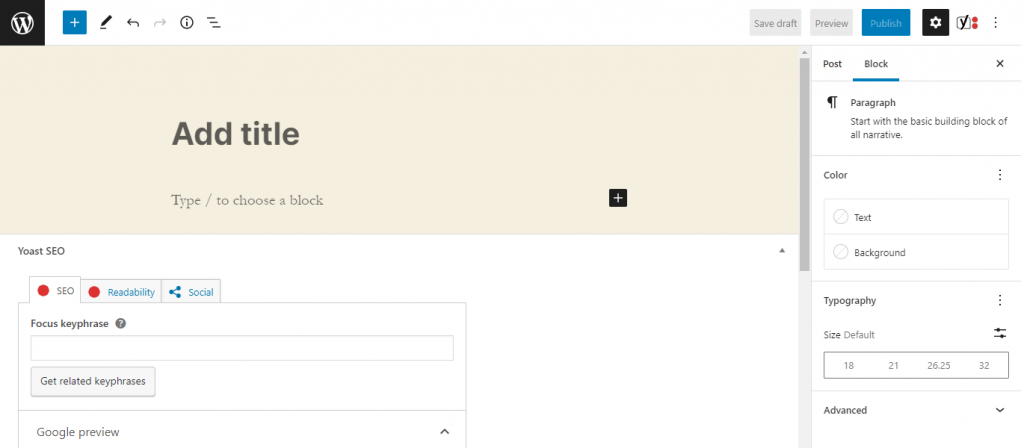
Source: WordPress
Section 1: Top Toolbar Section
Your top toolbar section can be found at the top of your page, hence its name. Here you have the following buttons with different functionalities.
Left-Side Toolbar Section

Source: WordPress
- Exit Editor is identifiable through the WordPress Logo. This button will lead you out of the Editing Page and back to your Posts.
- Block Inserter contains all the blocks that you can insert into your posts. Here you have two categories: Blocks and Patterns. For the blocks, you can insert the following:
- Text Inserts (Paragraphs, Headings, List, Quotes, etc.)
- Media Section (Image, Gallery, Audio, Video, etc.)
- Design (Buttons, Columns, Groups, Page Breaks, etc.)
- Widgets (Archives, Calendars, Categories, Page Lists, Search, etc.)
- Theme (Navigation, Site Logo, Site Title, Next/Previous Post, etc.)
- Embeds (Twitter, YouTube Videos, Reddit, Flickr, WordPress, etc.
And depending on your Plugins, you can insert blocks like Yoast Structured Data Blocks and many more.
On the other hand, the Patterns section mainly contains page patterns categorized in Featured posts, Buttons, Gallery, Header, Text, Query, etc.
- Here you can select when you want to edit or select blocks. Next to it, you can also see the Undo/Redo button on the page.
- Details/Info Button. This part of your toolbar section tells you details of your posts. This includes the number of characters, words, headings, paragraphs, and blocks you’ve used. It also shows a Document Outline to help you with your posts.
- Outline Button where you can see an organized list of all your blocks.
Right-Side Toolbar Section

Source: WordPress
- Save Draft, where you can save your editing progress.
- Preview Button. This is where you can select your previews depending on the device layout that you want to see them from. You can choose between desktop, mobile, and tablet.
- Publish to post it live on your webpage/website.
- Settings where you can select to show/hide the sidebar section.
- Yoast SEO Plugin. This is only visible once you install the Yoast Plugin. It’s highly recommended that you use this since it helps you identify if your post is optimized correctly or not.
- Options Button where you can control what your workspace looks like. You can change how you want it depending on the:
- View: Top Toolbar, Spotlight Mode, or Full-screen Mode
- Editor: Visual Editor or Casual Editor
- Plugins like the previously mentioned Yoast SEO
- Tools: Manage reusable blocks, keyboard shortcuts, etc.
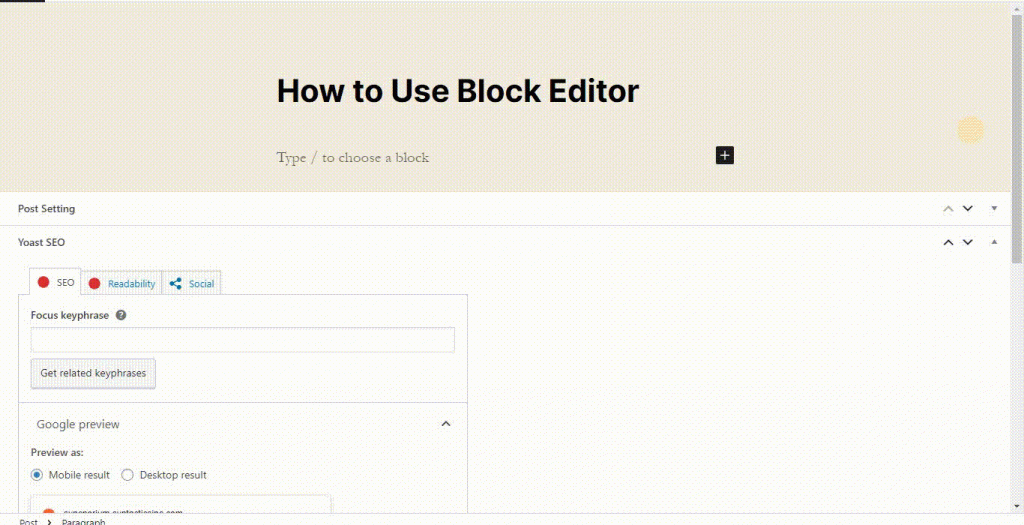
Section 2: Sidebar Section
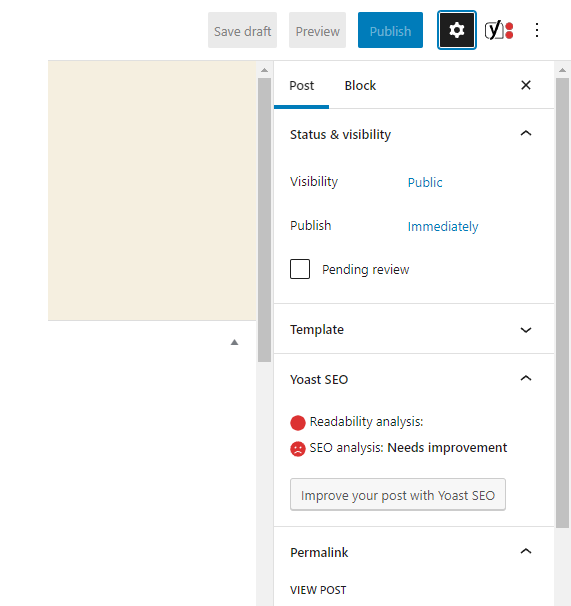
Source: WordPress
Your Sidebar Section opens up when you click the Settings button from your Top Toolbar Section. This is the page where you can edit your posts based on the following:
- Status: Public, Private, or Password Protected
- Visibility: Immediately or Scheduled Posting
- Template: Default, Cover, or Full-Width Template
- PlugIns: Yoast SEO
- Permalink
- Category
- Tags
- Featured Image
- Excerpt
- Discussions: If you allow comments, or pingbacks and trackbacks
You can also see here the Blocks where you can edit your Blocks in a more advanced approach/mode like the one below.
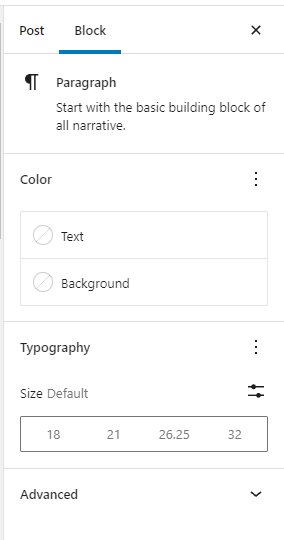
Source: WordPress
Section 3: Content Area
And finally, the Content Area, where you’ll be editing your content as blocks.
Here’s how to use WordPress Block Editor for your posts.
Fill in the Title Block
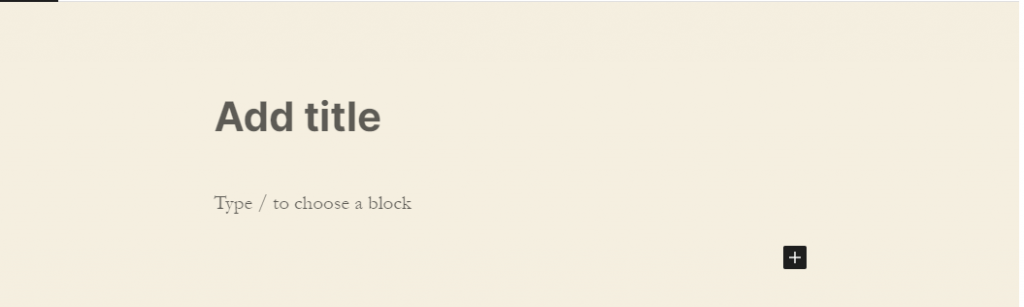
Source: WordPress
Start Writing Your Posts
Once you’ve created a title for your post, you can immediately type in your content. A paragraph block will be created once you do so.
Tip: When writing your post on WordPress is that you don’t necessarily have to write it. You can create a draft first on your Word or Google Document.
You can then copy and paste your final draft to the Content Area. This is so that you won’t have to constantly edit on the page and risk accidentally posting it unedited/unfinished.
Add the Blocks You Need
When you click the “+” on the content page, a pop-up selection of blocks will appear on the page. Select the type of block you want to insert from here.
To get a full list of these blocks, you can click “Browse All,” and the Block Inserter from the left-side of your toolbar section will open up.
Source: WordPress
Explore Block Toolbar

Source: WordPress
When writing your article, you can observe that this is one of the elements. This is the Block Toolbar. It holds all your necessities when writing, including:
- Paragraph: Change block type or style (Transform to Heading, List, etc.)
- Drag Blocks: Drag the blocks to move them.
- Move Block Up and Down
- Change Text Alignment
- Bold and Italicize Button
- Insert Link Button
- Display more Block Tools
- Options where you can see the following:
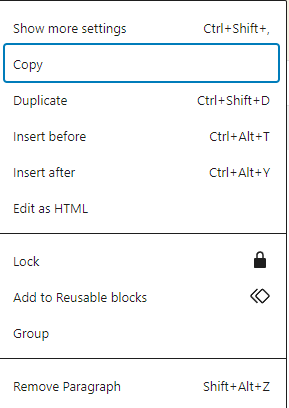
Source: WordPress
Removing a Block
Don’t like what you’re seeing? It’s okay. You can remove the blocks you’ve put on your Content Area. You can simply hit backspace until it’s gone, or go to the Options in the Block Toolbar and remove the block you want.
Bring your Content to Life with Images and Videos
Adding any Media Blocks on your page helps liven it up. This also helps in keeping your visitors/readers engaged with your website. So make sure to add it in!
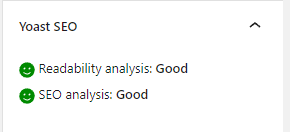
Make sure it’s SEO Optimized
Once you’re satisfied with what you have, the next thing to do is check if it is properly optimized. If your SEO plugin gives you the green light, that’s it!
Source: WordPress
You’re ready to Publish!
All you need to do now is to check your Post Settings on your Sidebar Section.
- Select the visibility you want.
- Decide if you want to publish it now or later.
- If later: Schedule your post.
- Publish your content.
Your Journey to Block Editing Begins Today.
That’s really the basics that you need to know. And if you’re looking to discover more about how to use the WordPress Block Editor, here’s a video from WordPress themselves that you can watch and learn as a reference.
Source: WordPress.org
Be as Creative as You Can Be with the Block Editor!
Now that you know how to use the WordPress Block Editor feel free to share your progress in the comment section below!
And if you’re looking forward to further developing your website, your solution is right here. Consider hiring a WordPress Developer from the Philippines and liven up your website today